I’m still not 100% sure how I came to hang a barn door in my living room. I think maybe my wife and I were playing chicken with each other. Neither of us blinked, and now I have a barn door, which I love and had a great time making, hanging in my living room. Woo!
Day 1: Plans, wood
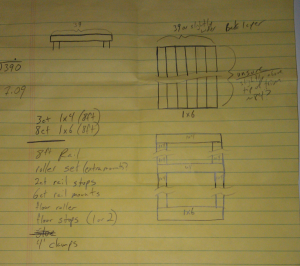
The basic door plan and shopping list. This list turned out pretty well. I need to return two pieces of hardware and I used one extra 1x4.
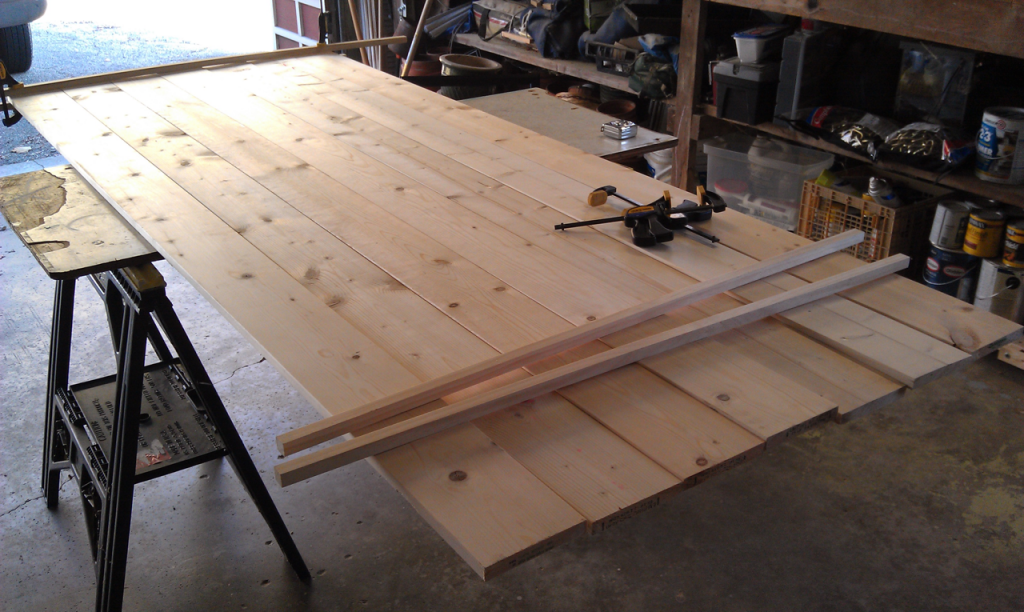
First go at how the boards will line up. Since I used rough pine there's a fair bit of variation in the wood as you can see.
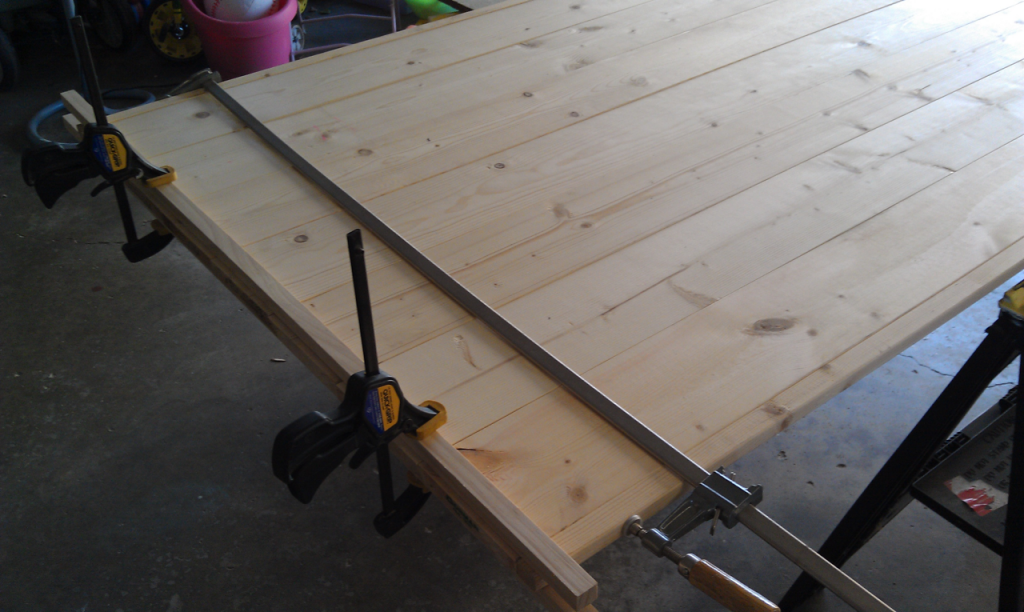
The seven 1x6s ended up being not quire wide enough. I ripped down 1 inch strips to use on either side to get the door to 40 inches. Since I was going to add vertical 1x4s on each side anyway, these spacers won't be visible form the front
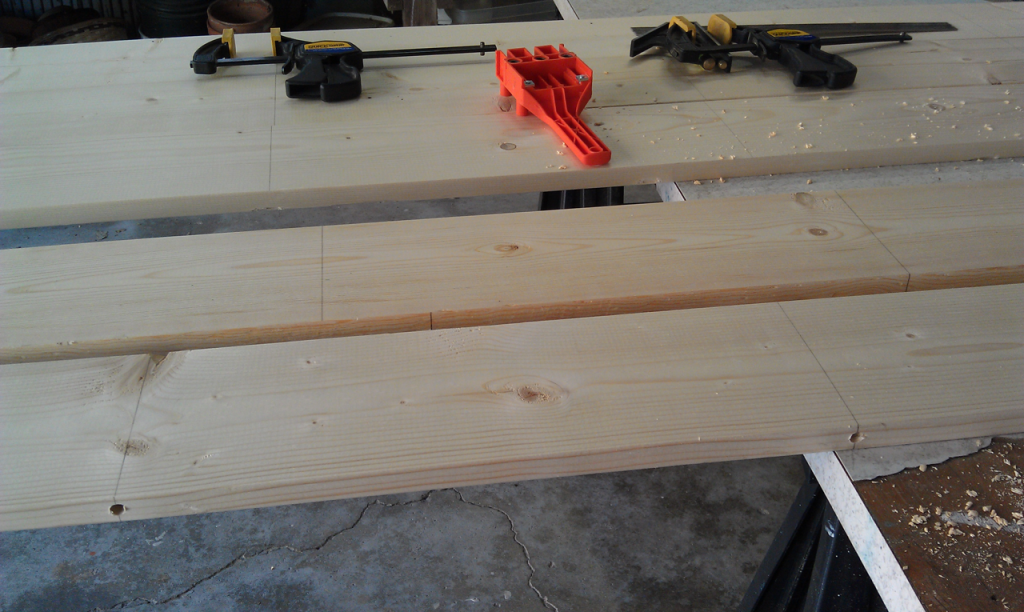
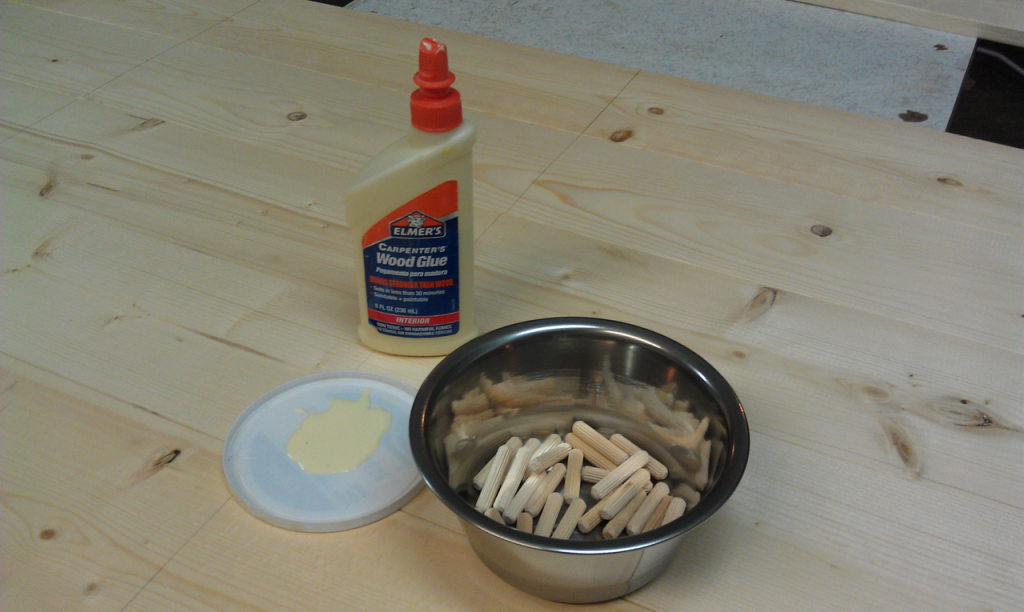
After choosing a board orientation, I labeled the top and bottom of each board to make sure I could put them back in the same order. Then I drew some crossing lines to aid in lining up dowels. I took the whole thing apart and used a dowel jig to drill all the holes. I think this was the most tedious part of the whole project. I used a lot of dowels here.
Day 2: Assembling the basic door planks
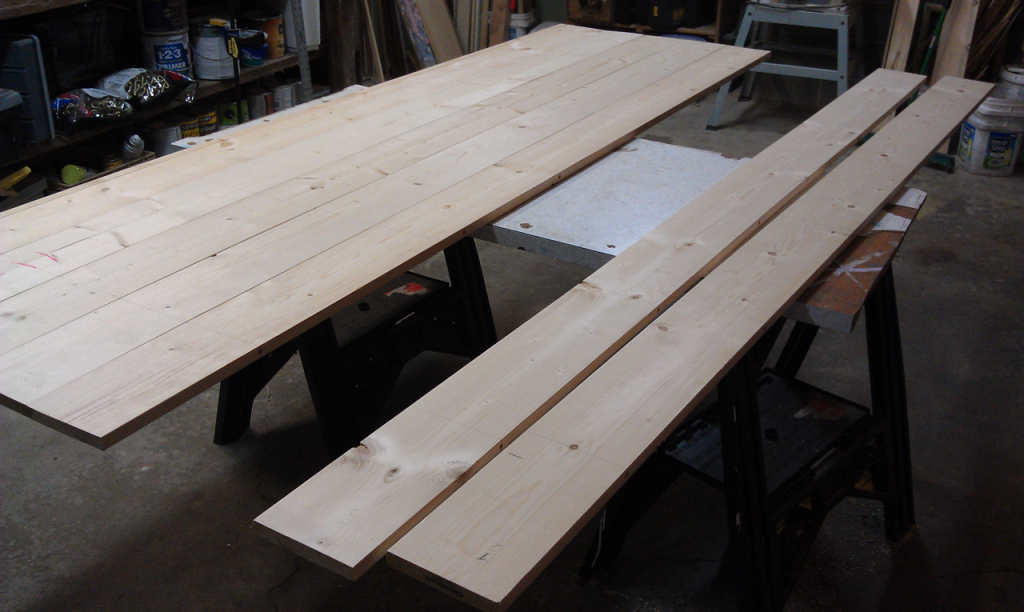
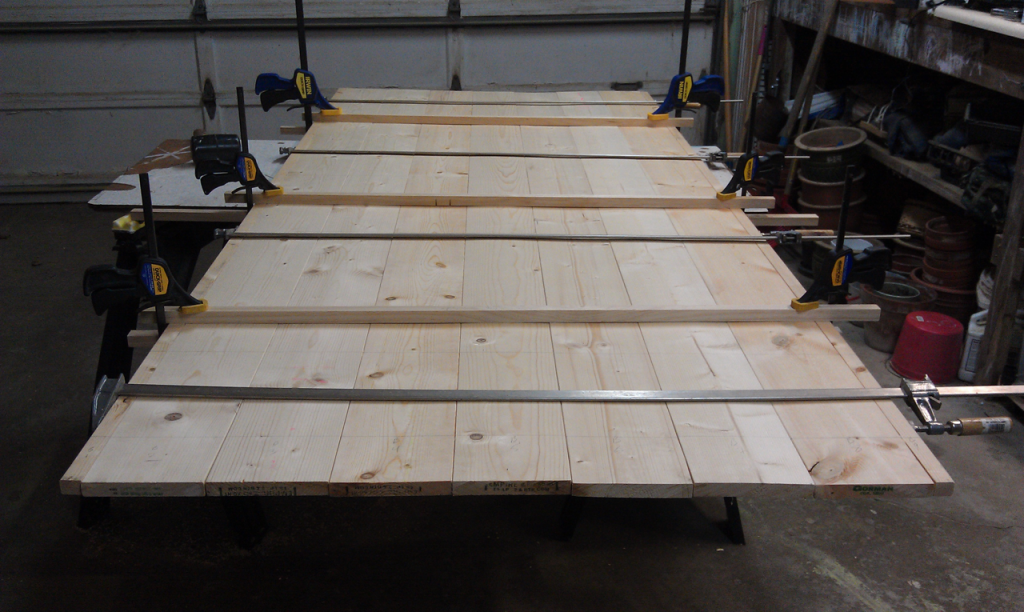
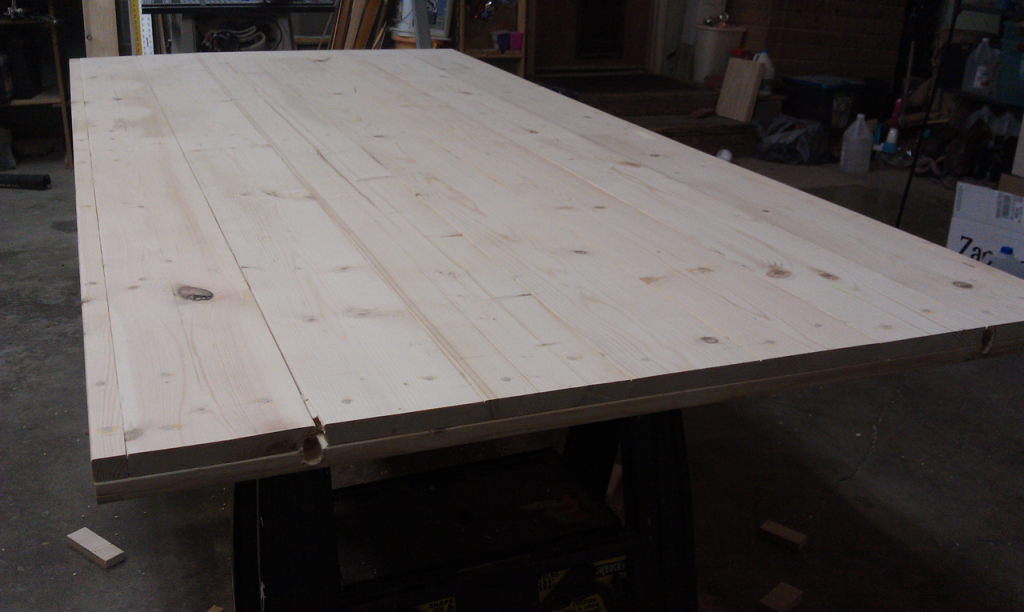
I didn't take many pictures during the assembly process because I was a little afraid that I was taking so long getting each now board on that I wouldn't be able to get it clamped before the glue started to set. This is the one picture I took mid-gluing.
Day 3: First back plane cut and first cross bar
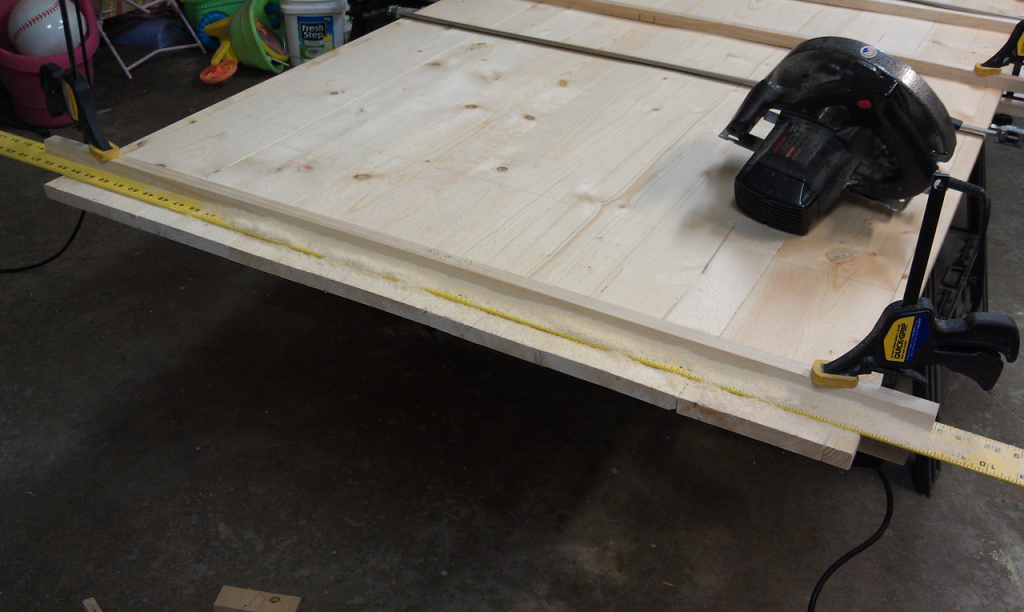
The first cut. The location was somewhat arbitrary, but I did have rough ideas where the top and bottom would be when I joined the back plan boards. As an aside, I love that 6-foot straight edge.
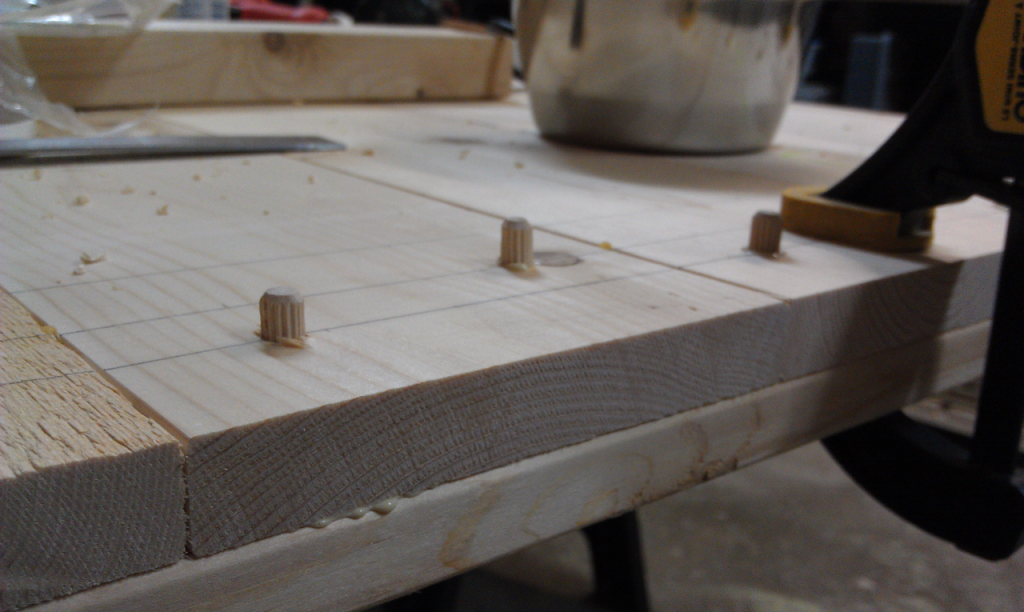
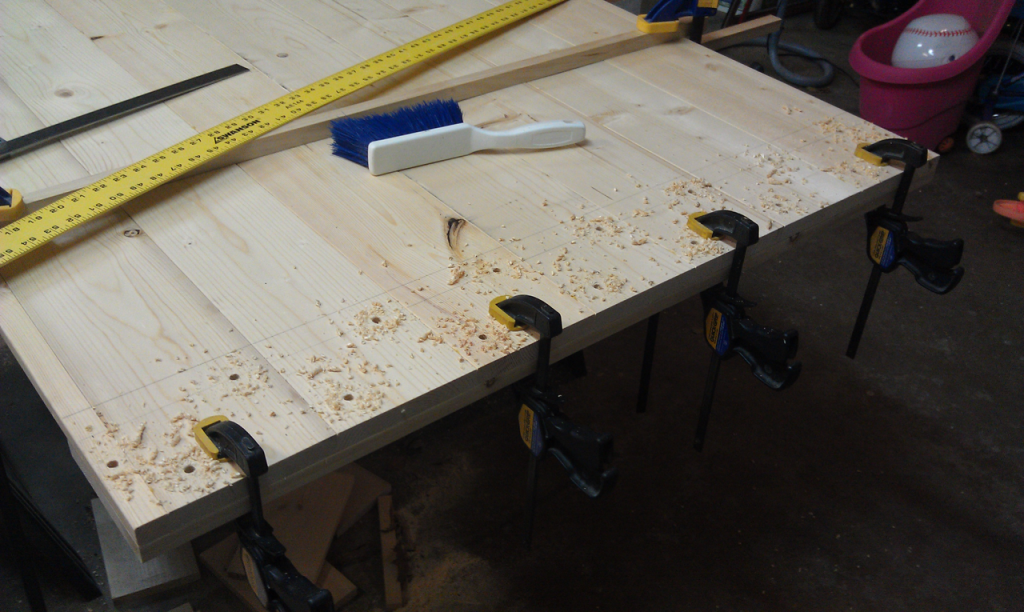
The first cross-piece join. I liked the idea of having the dowels show through from the front for "character" but Amanda didn't like the idea. So, these are drilled through from the back. This will be the top of the door.
Day 4: Hardware issues, triple-checked math
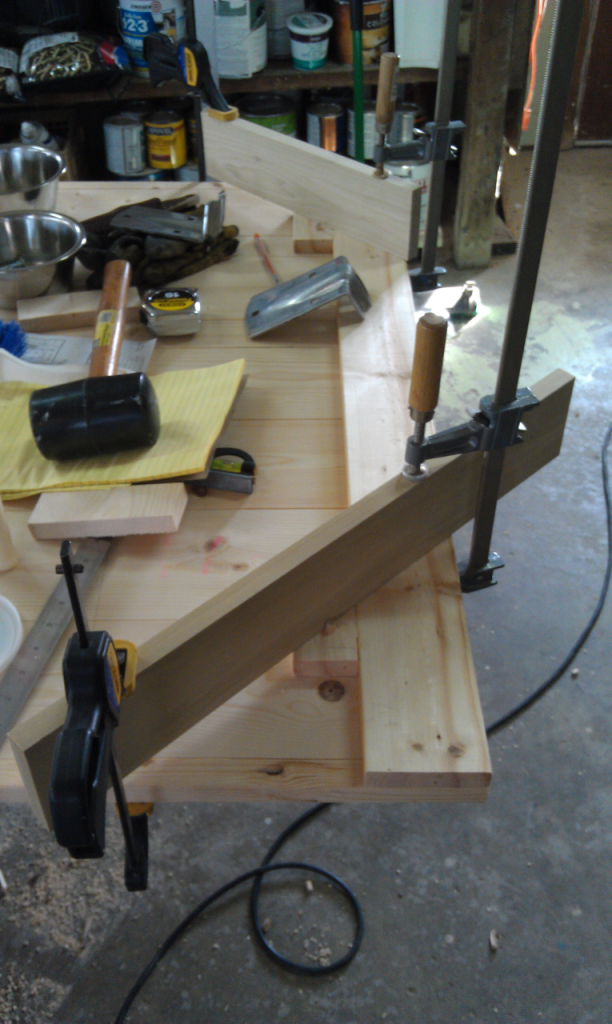
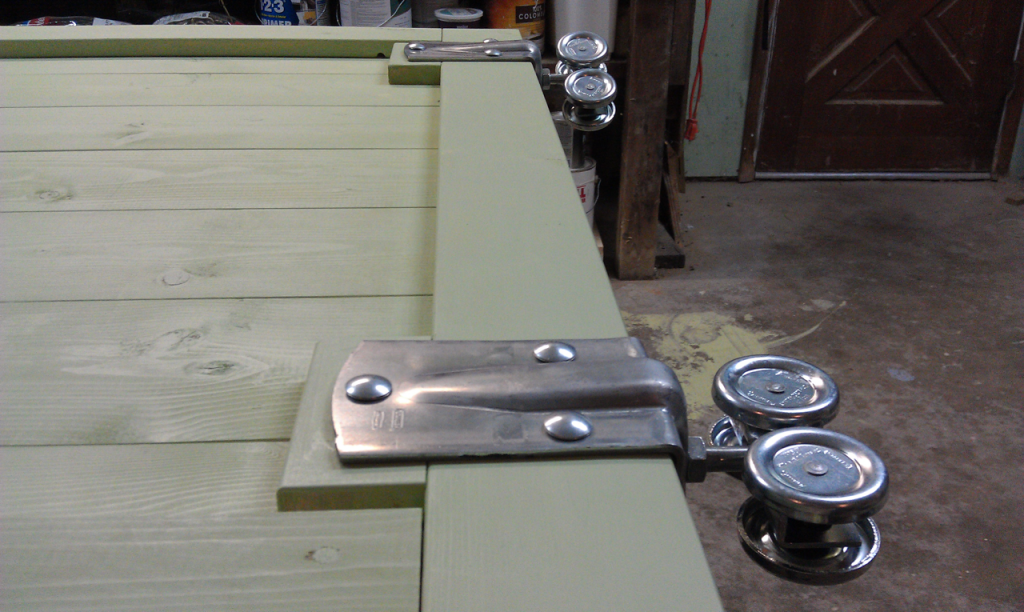
The next big commitment I had to make was cutting the overall door length. Since I needed to understand the height offset of the rollers, I broke out the hardware to dry fit. When I did I realized that the 1x4s I was using as the top band wouldn't be wide enough for my hardware. My solution was to add some extra board just where the mounting bracket would be. I probably wouldn't have done this on purpose, but having been forced down that path it actually looks pretty good.
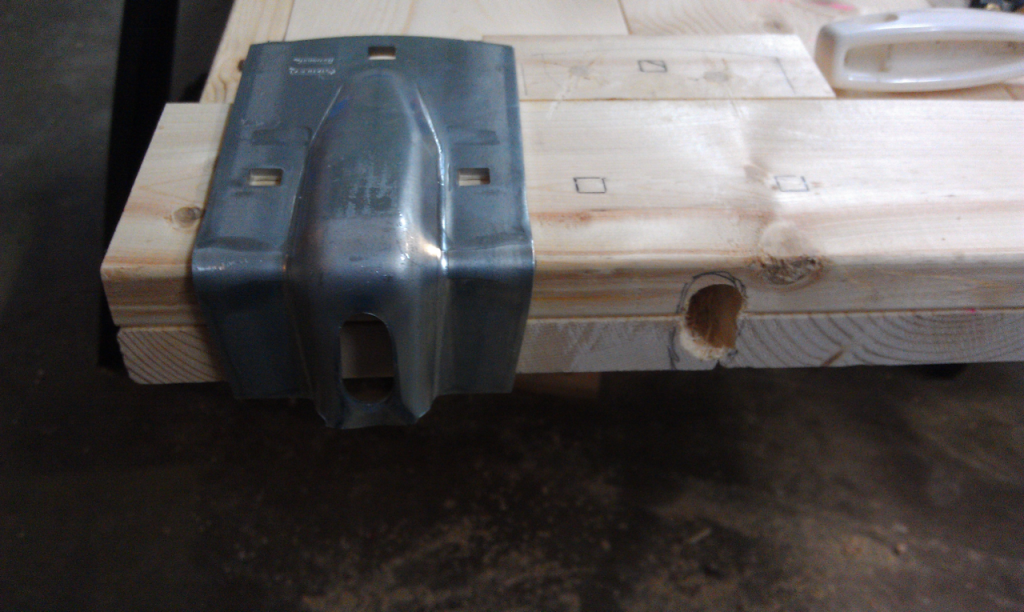
I didn't drill anything at this point except the hole for the roller bolt. For maximum adjustability, you have to drill a hole in the top of the door for the bolt to recess into.
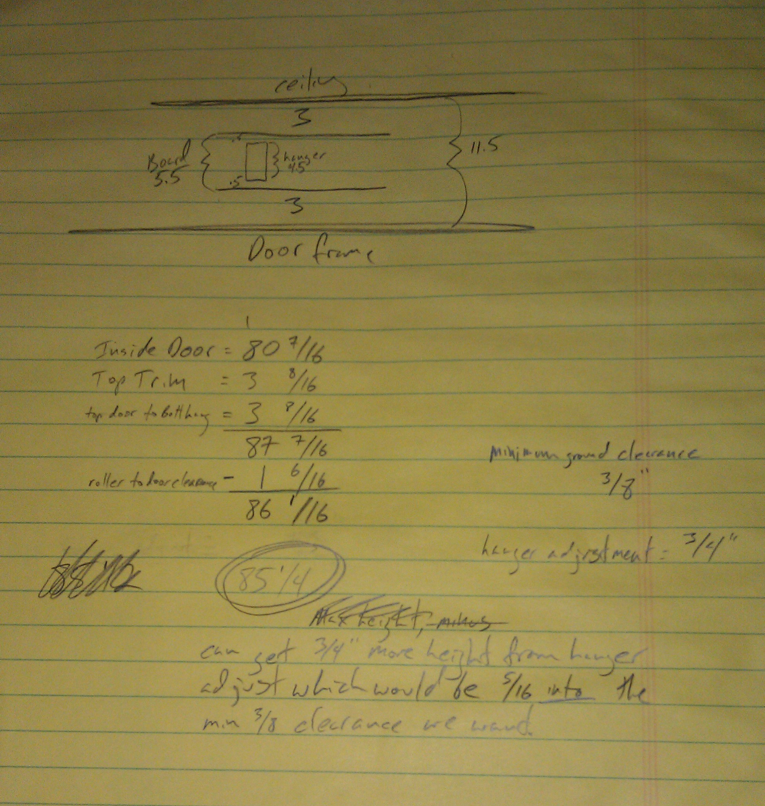
The sheet for deciding the overall door length. The hangers have some adjustability in them, but I was scared to death about making the next cut. I did the math about 3 different ways and in the end it turned out pretty well.
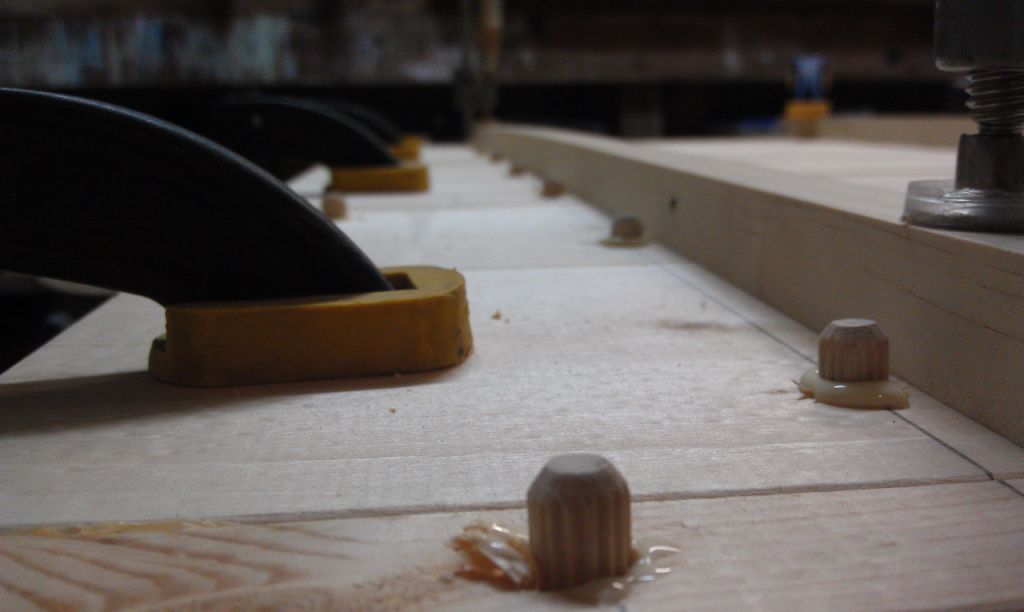
So many dowels... Hopefully I will be repaid by having the door stay together for longer than a week.
Day 5: Last cross-piece
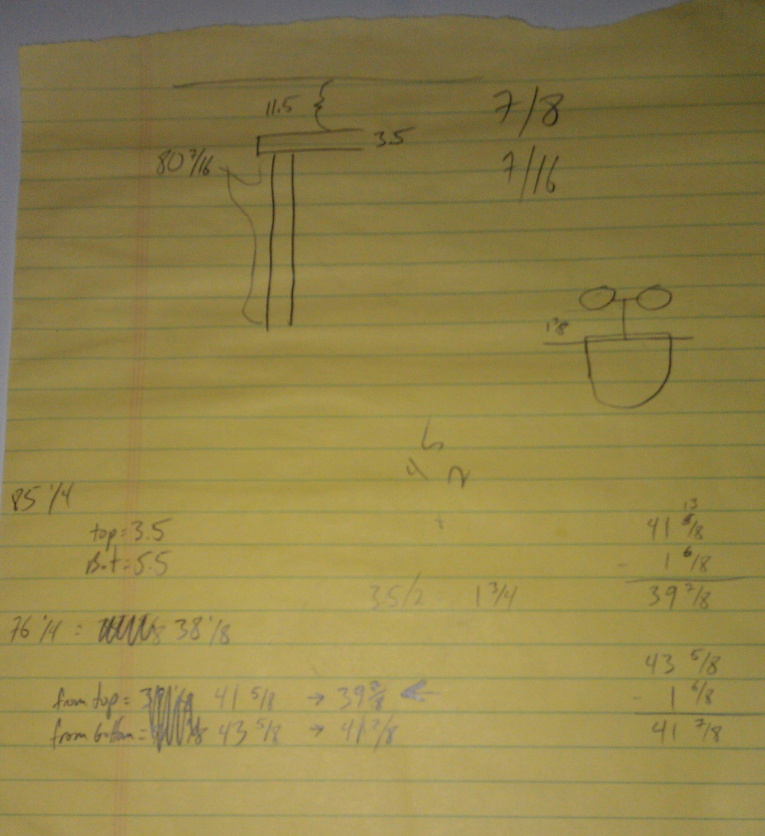
Miscellaneous math, including the measurements for the middle cross-piece. Much less harrowing than the bottom measurements.
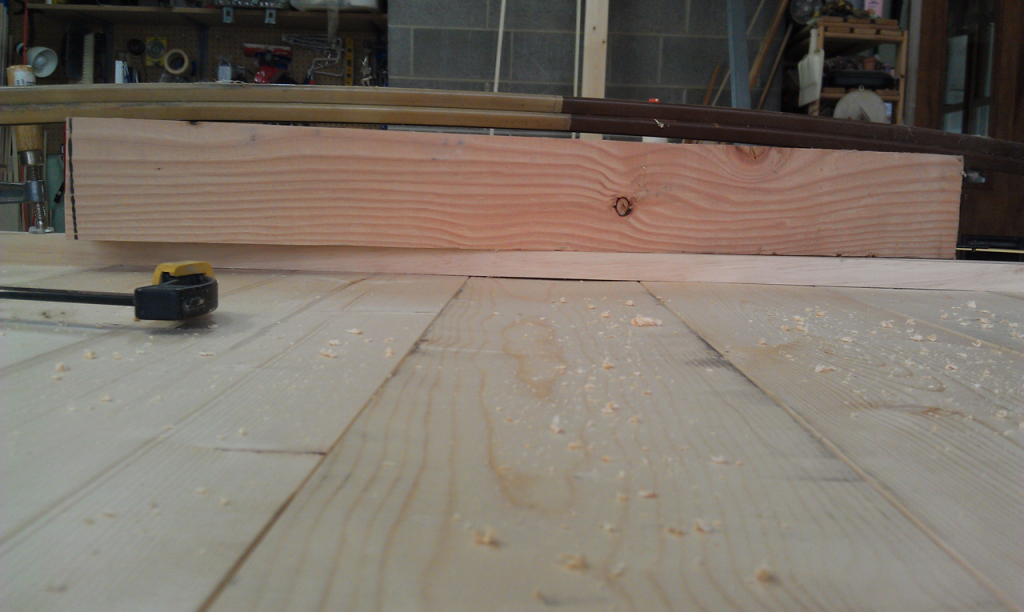
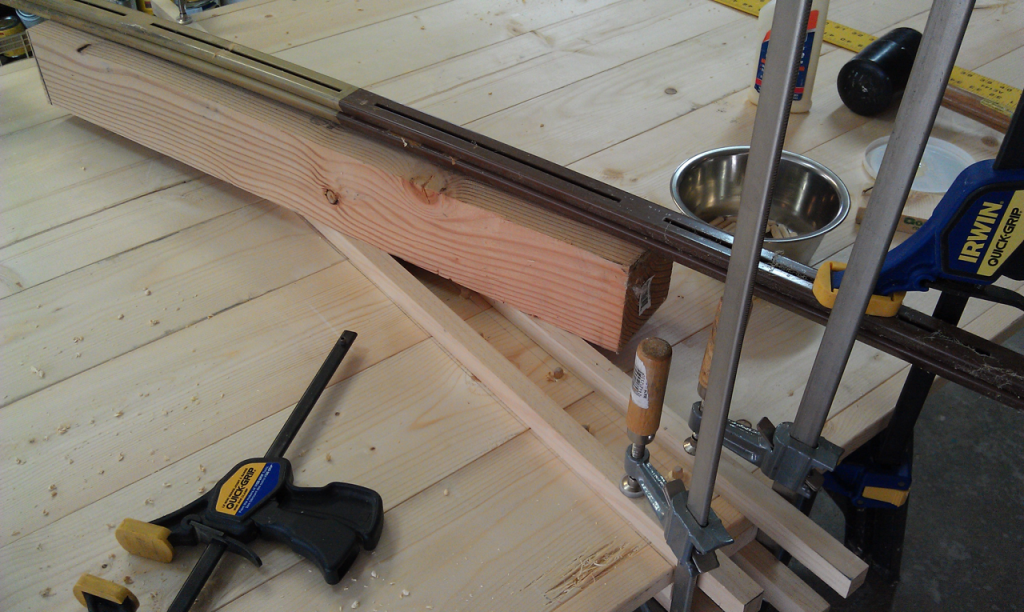
Putting in the middle piece was the first point I noticed that I had let a little bit of warp into the door. It wasn't awful, but it was there. I never got rid of all of it, but I put a tremendous amount of effort into getting a flat clamp on the middle piece. Not sure what those metal bars are from, but they worked really well (and I managed not to have them slip and crush my skull when they released all that tension).
Day 6: Vertical facing pieces
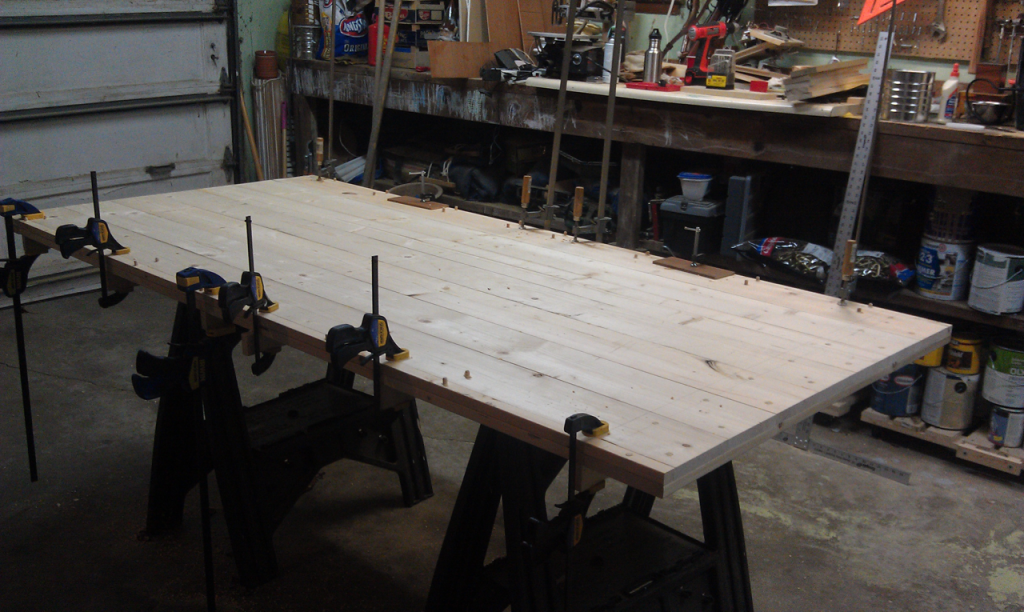
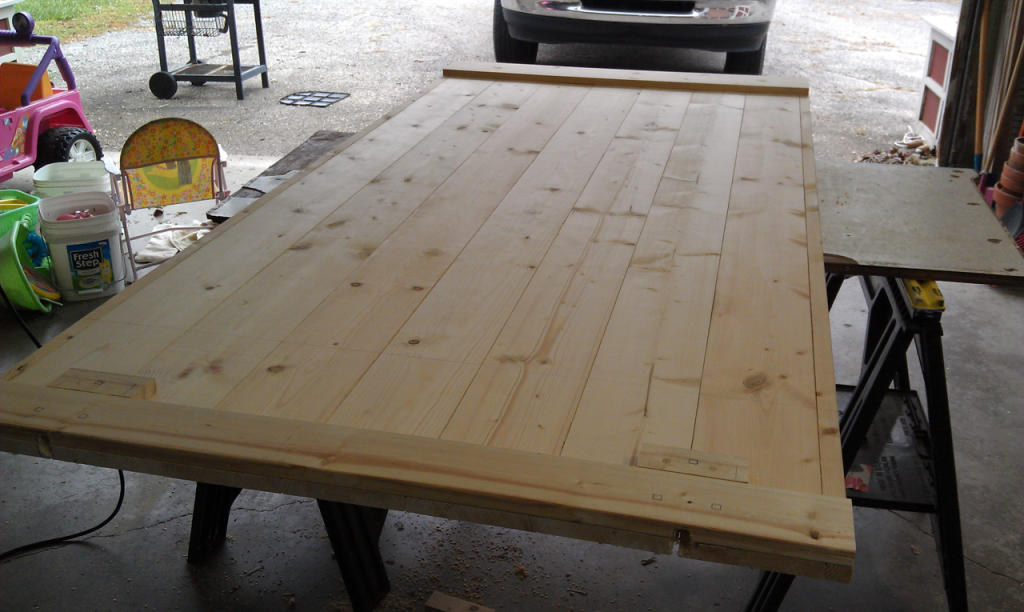
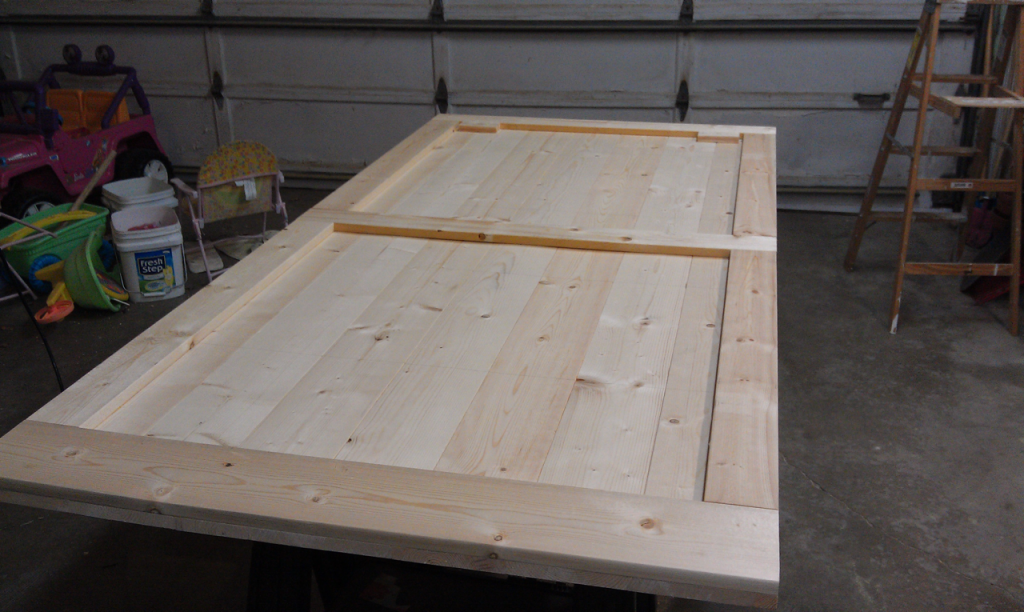
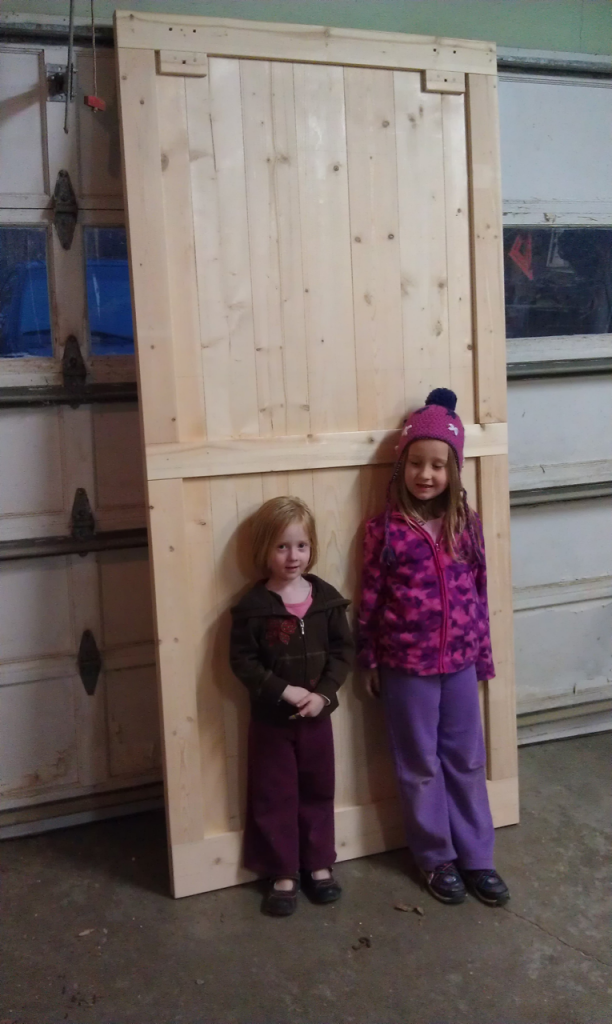
One pic to sum up a night's work. This is the door with the vertical facing doweled, glued, and clamped.
Day 7: Sanding, routing
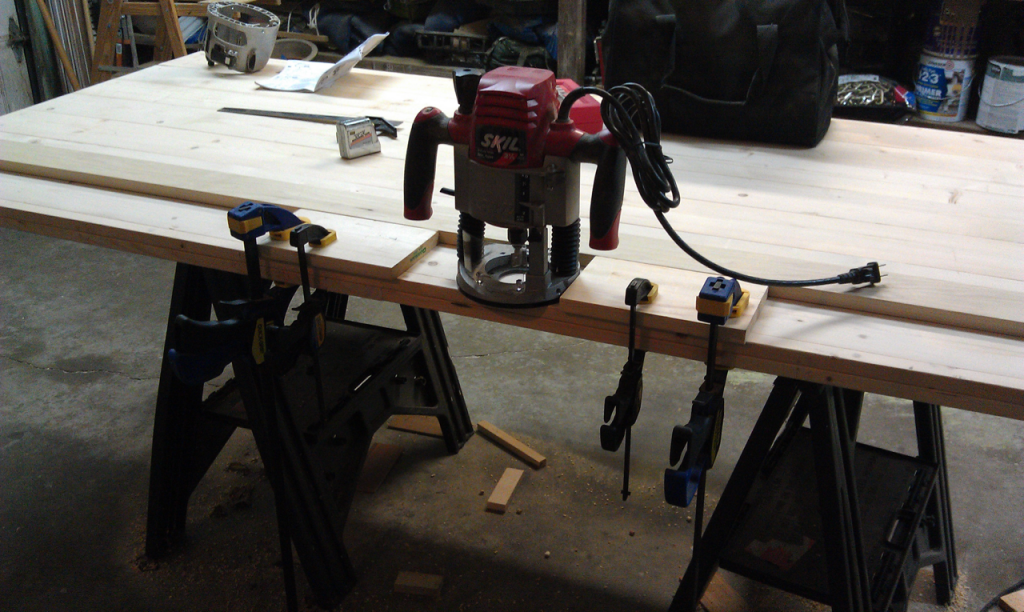
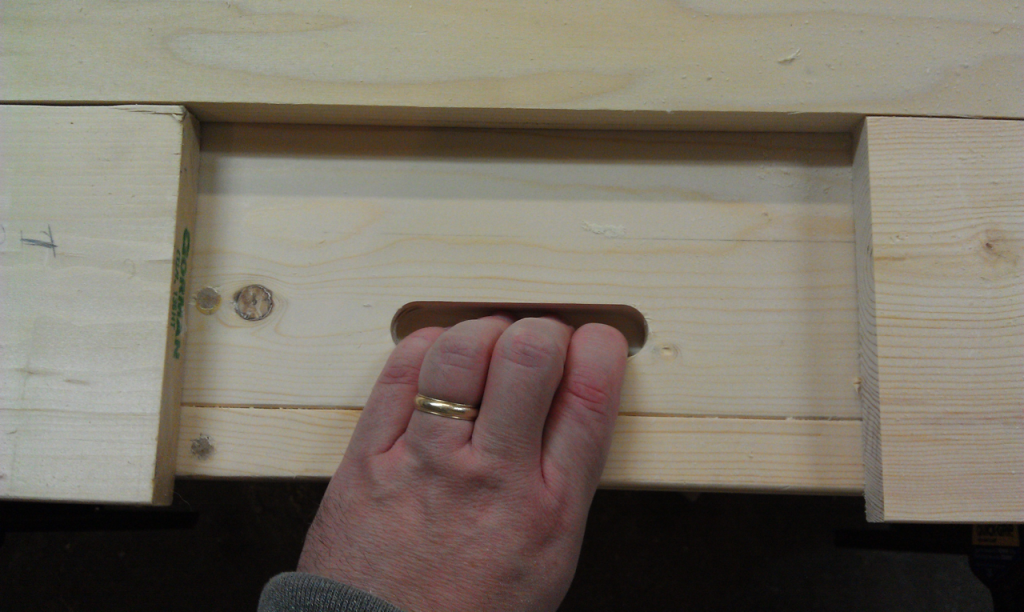
Amanda wanted a handle in the back of the door so I decided to figure out how the "plunge" configuration of my router worked. Still have all my fingers, so I think I did OK.
Day 8: Rounding, Paint!
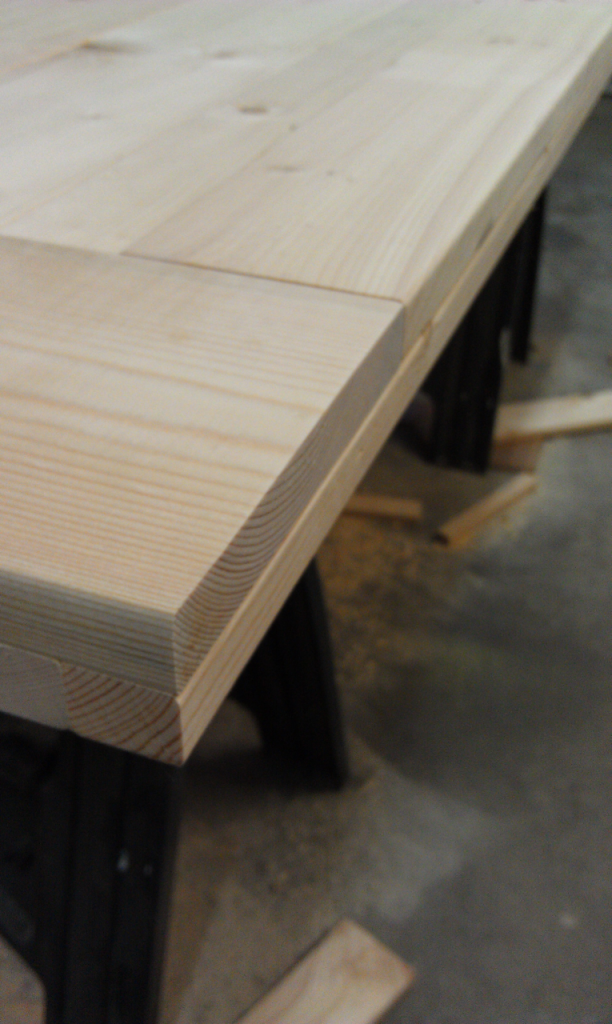
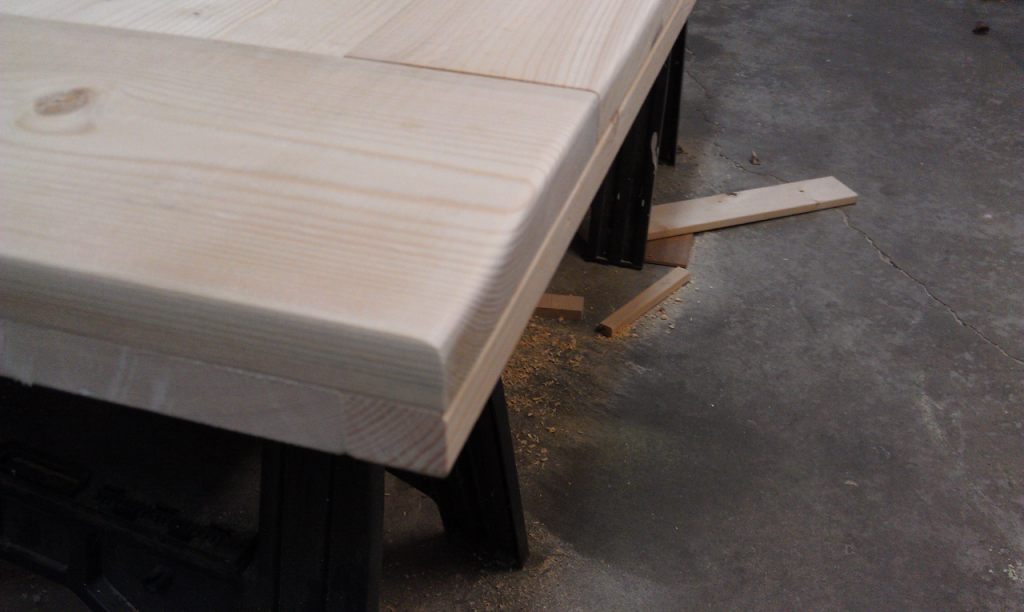
The door looked pretty good, but one thing that really drew the eye was the difference between the natural edges of the lumber and the edges I cut. The lumber had a slightly rounded edge and the cuts were sharp edges.
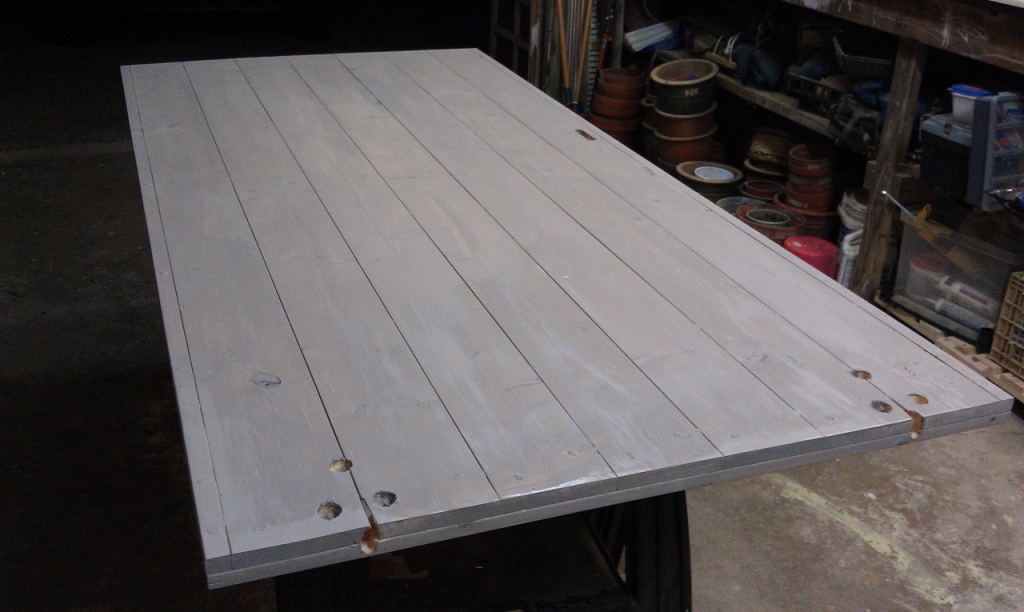
The back of the door. Amanda applied a "wash" on the door that neither of us ended up caring for. I didn't like the color, she didn't like the wash.
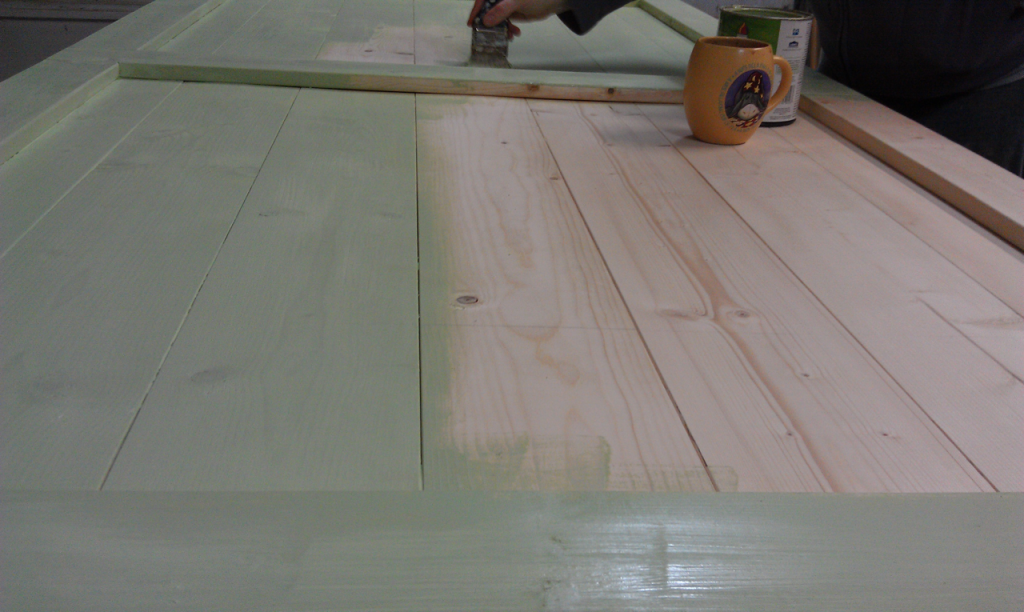
After some discussion (which I think included the phrase "only a dude would paint it black") we chose green. It fit the overall color of the room and echoed the color of the front door down the hall. Amanda is painting it up. We did a really thin coat which left a ton of detail and grain showing through.
Day 9: Rollers
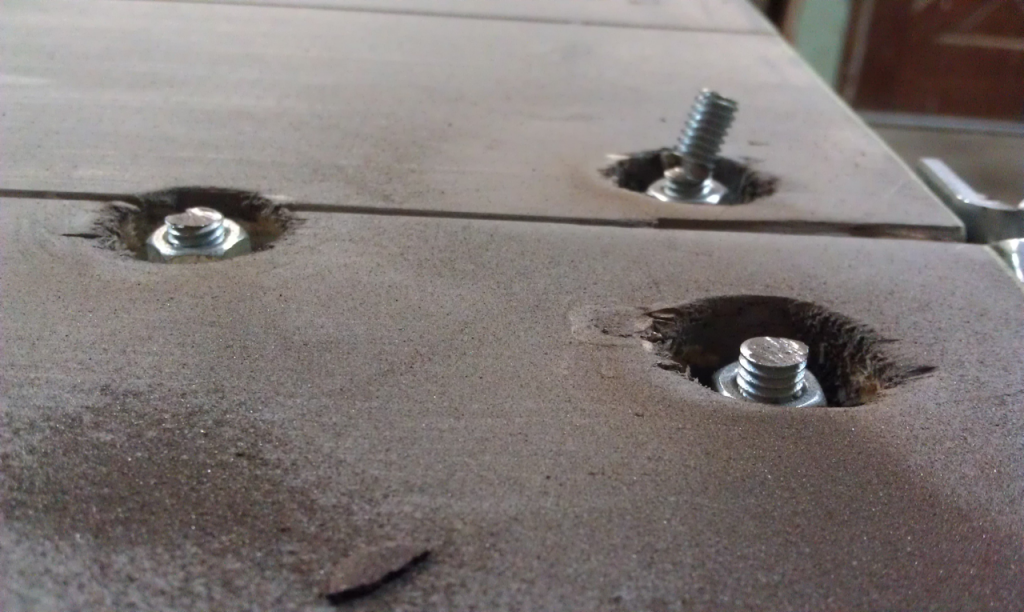
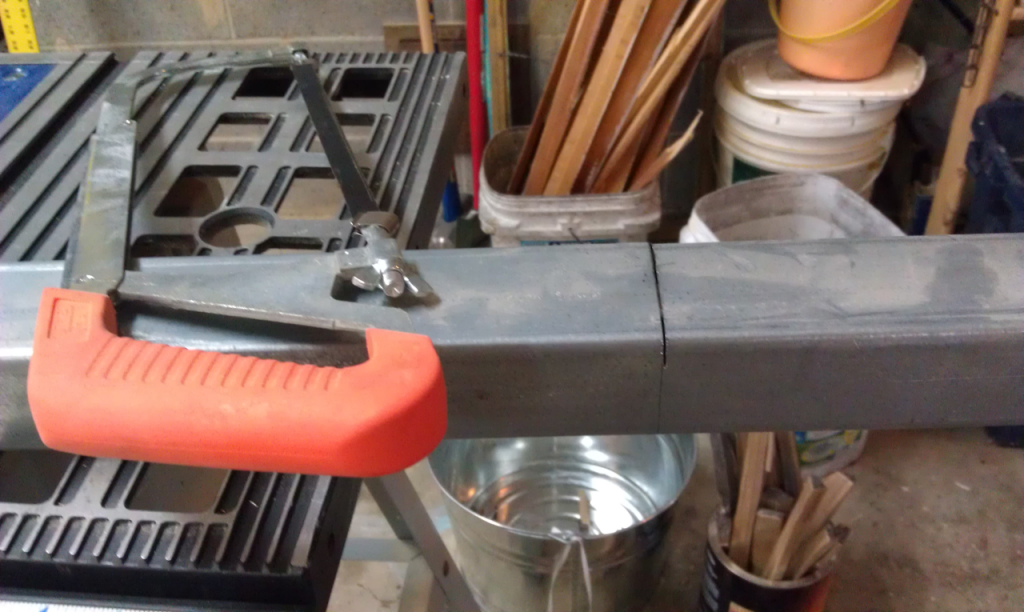
Cutting the bolts off at the back. The instructions for these brackets actually said that the bolts should go through from the other side which made no sense - not only would it be ugly having the bolt ends sticking out into the room, but they were carriage bolts, meaning that if the heads were in back they wouldn't be able to engage with the square holes in the brackets. I acknowledge the former's not a big deal in the setting of a real barn door, but the latter is. In this case I decided to ignore the instruction, sink the nuts, and cut the bolts off flush. Ended up working fine.
Day 10: Mounting the rail
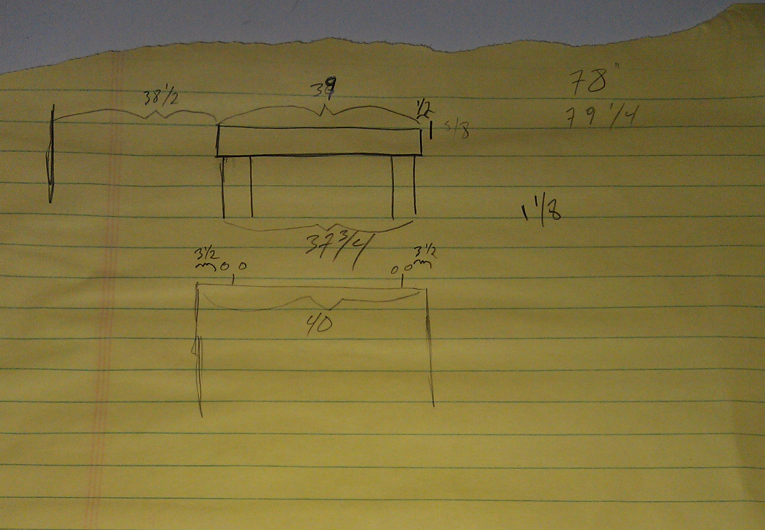
The last thing I had to write out for this project. Trying to understand how wide to make the rail and the 1x6 that would go underneath it.
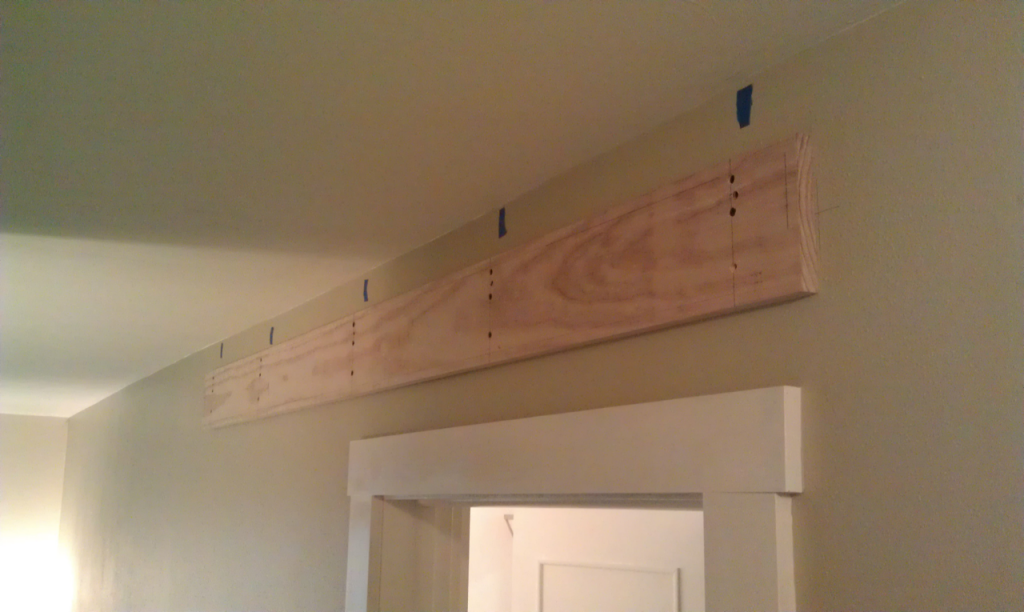
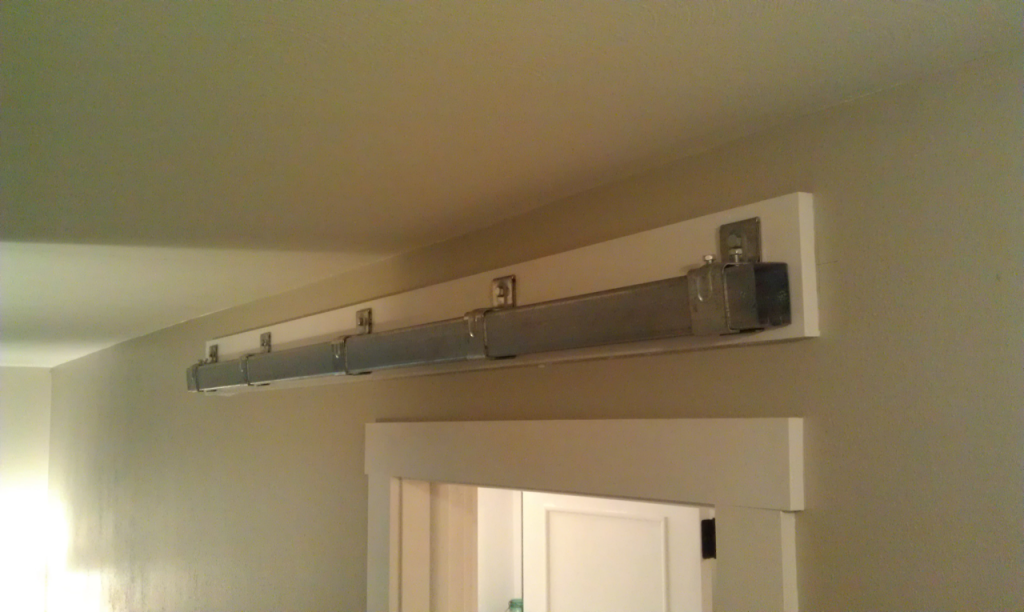
The trim piece that will go behind the rail mounted to the wall. I was lucky that the studs were favorably placed. 5 studs, each got 3 screws, and each mounting bracket's lag bolt got into the stud as well.
Day 11: Hanging the door
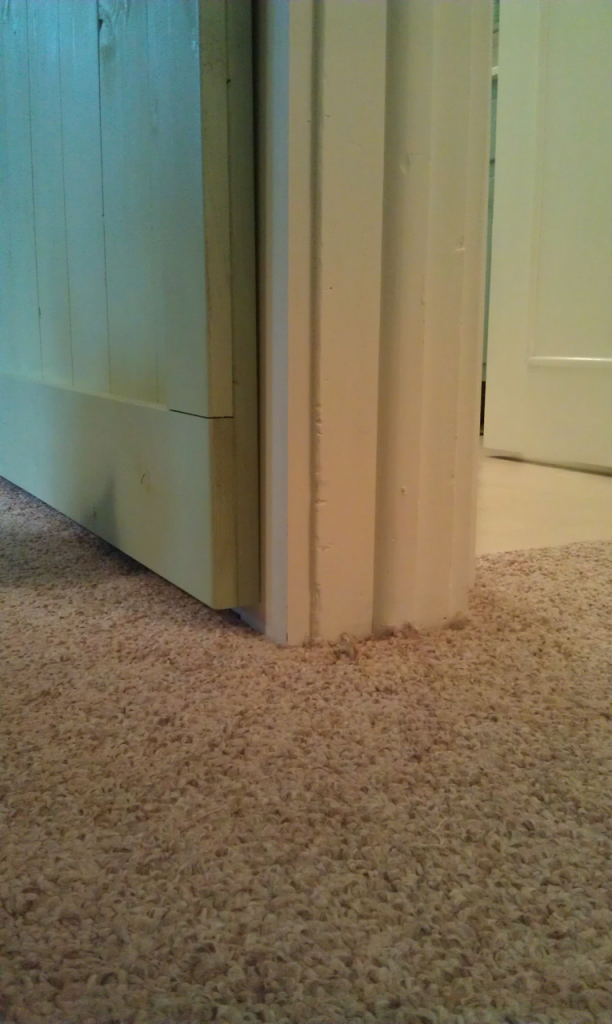
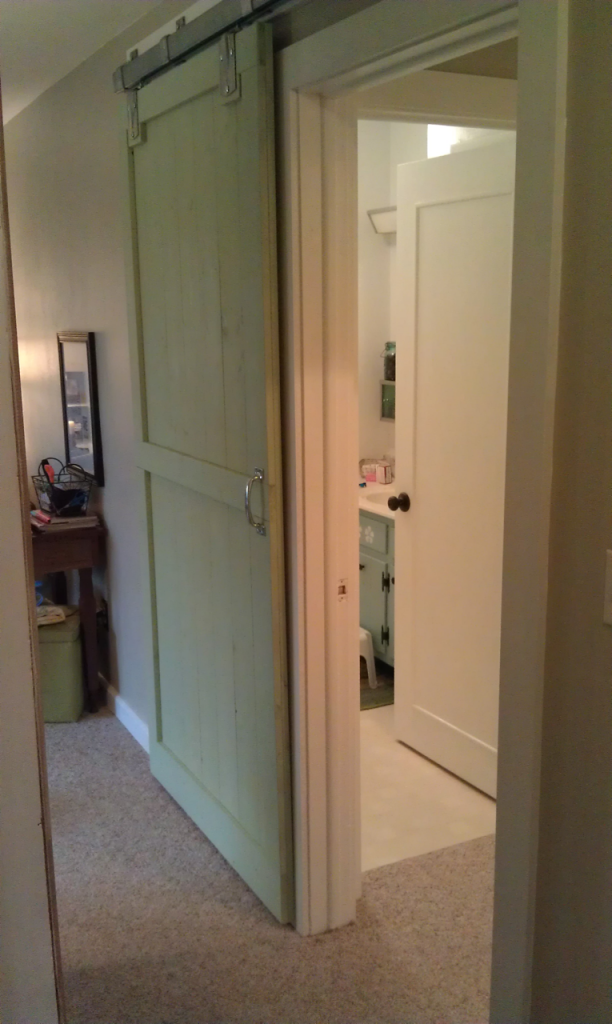
Mostly happy with the door, but it was hanging a little funny. This pic shows how close the door was at the bottom. I was actually considering mounting a small bit of scrap on the door frame to make it stand off and prevent it from scraping on the trim.
Day 12: Final tweaks
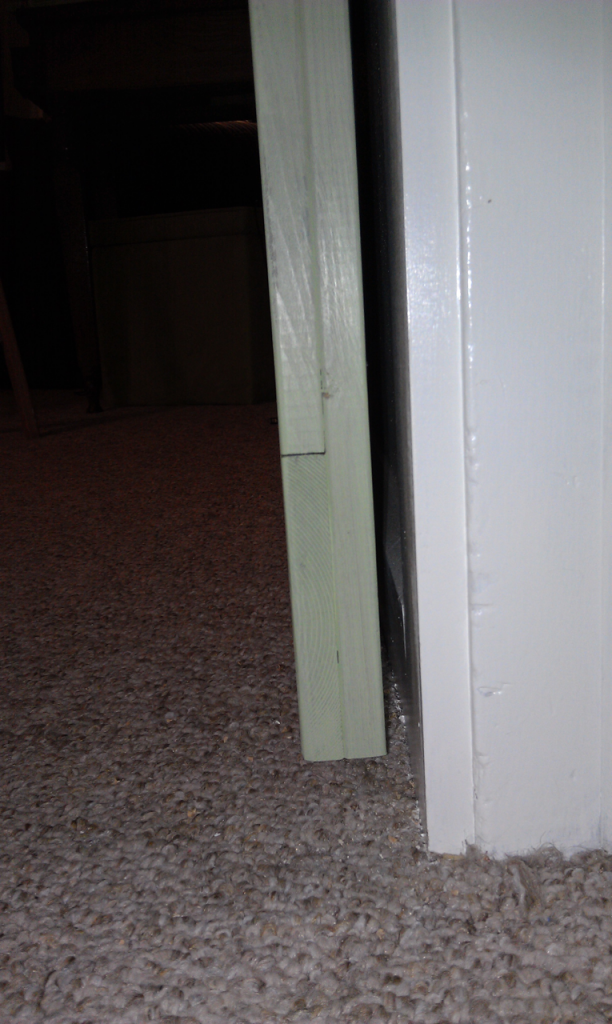
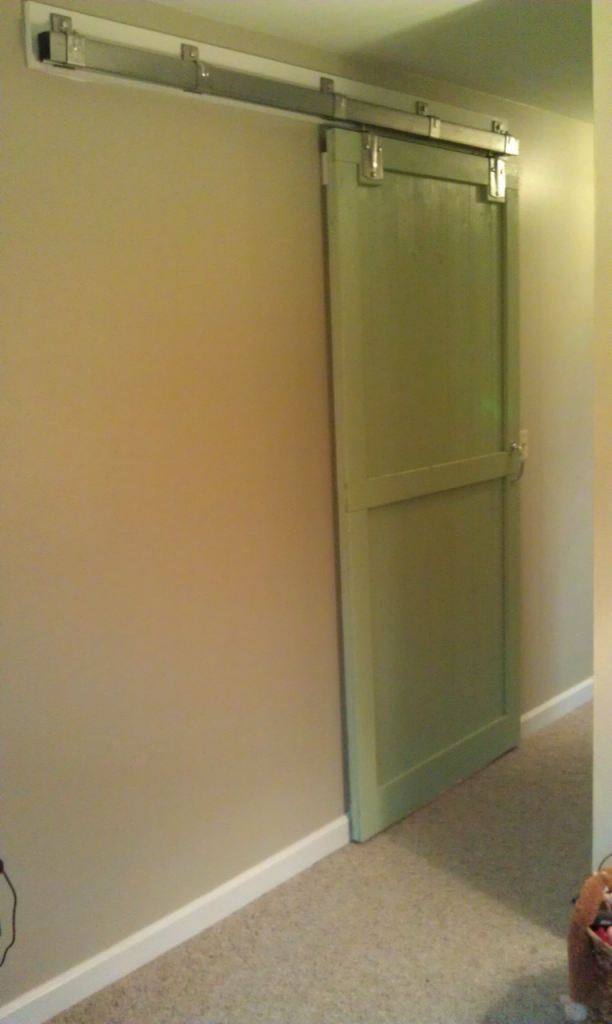
Turns out I didn't need to do anything special to fix the door alignment. There's a lot of adjustability built into the mounting hardware. I had the rollers initially mounted as far toward the back of the door as possible because I was worried about having enough clearance to get over the trim. I had plenty of clearance, and moving the rollers more toward the center of the door fixed my vertical alignment issue.
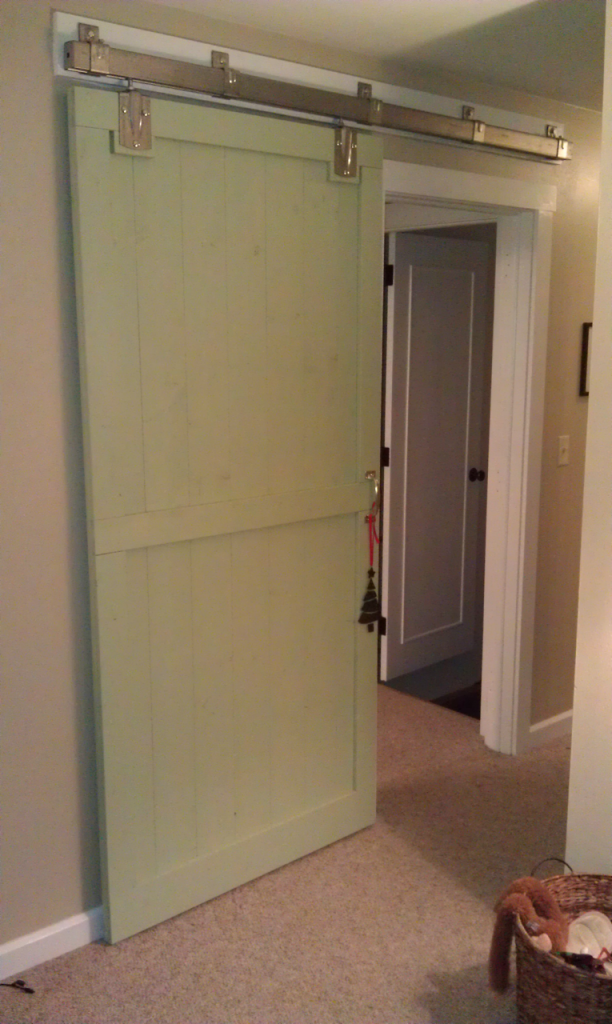
Just visible in this picture are the end-caps for the rail. I had planned to secure them wil metal screws, but they are super-snug and I think they'll stand up to casual abuse. I'll reconsider when my girls are teenagers and start slamming doors.
And that’s that. Fun project, done and done.
FaNtAsTic!!! I absolutely love it! :)
It is a lovely door you created. My husband is making a hanging barn door for my new art studio and we wanted to know where you bought your hardware. We are needing to make our beautiful door in a cost effective manner and are hoping you did not break the band for your rail and wheels. Aleada
Hi Aleada. My wife and I had similar issues with the cost of “decorative” door hardware. I think the cheapest set we found online was around $400. I ended up returning to my roots and just going out and buying “real” barn door hardware. I bought it at a “Do It Best” hardware store, I’ve also seen it since at an Orscheln. I just checked though and it’s Stanley brand hardware. Google for “Stanley barn door hardware” and you’ll find lots of places to buy it. I can’t remember what I paid but I think it was on the order of $100 for all the hardware, which is definitely better than the decorative hardware. Good luck with the door! — John
Your door is lovely! Could you tell me if the door has warped at all? I would like one near my kitchen and it will be exposed to steam.
Hi Freya, thanks for your comment. My door has experienced a little bit of warpage, but I’m not sure if anyone has noticed but me. The top of the door is held in one place by the hangers obviously, the bottom right is still right where I want it, and then the bottom left is about 1 inch further out than the bottom right. Another issue I’ve had is slight shrinkage in the lumber – the vertical boards, which were fluch to each other and glued, have separated slightly. Thanks to the dowels, the door is very, very solid still (very happy that I decided to dowel the whole thing, that’s paid off).
As for causes, I suspect two things. The initial warp is actually documented in my post when I tak about clamping the middle cross piece. I think that if I had done a better job of thinking about how the vertical pieces would match up structurally, not just visually, I could have cut some of that tendency out.
Second, I didn’t let the wood “settle” in the environment it would live in before I used it. I think the is the other cause of the warpage, and the sole cause of the separation. I bought rough construction pine from an non-environmentally controlled lumber yard, built something out of it in november, then brought it into my climate controlled house. I should have known better than that.
Hope that helps some – Not sure it helps with the steam issue, but at least it’s something…